- Uygulamaları
- Premium
-
VPN Konumları
- Yardım
- Kayıt
- Giriş
Is Your VPN Working? Here's How to Check
İçindekiler
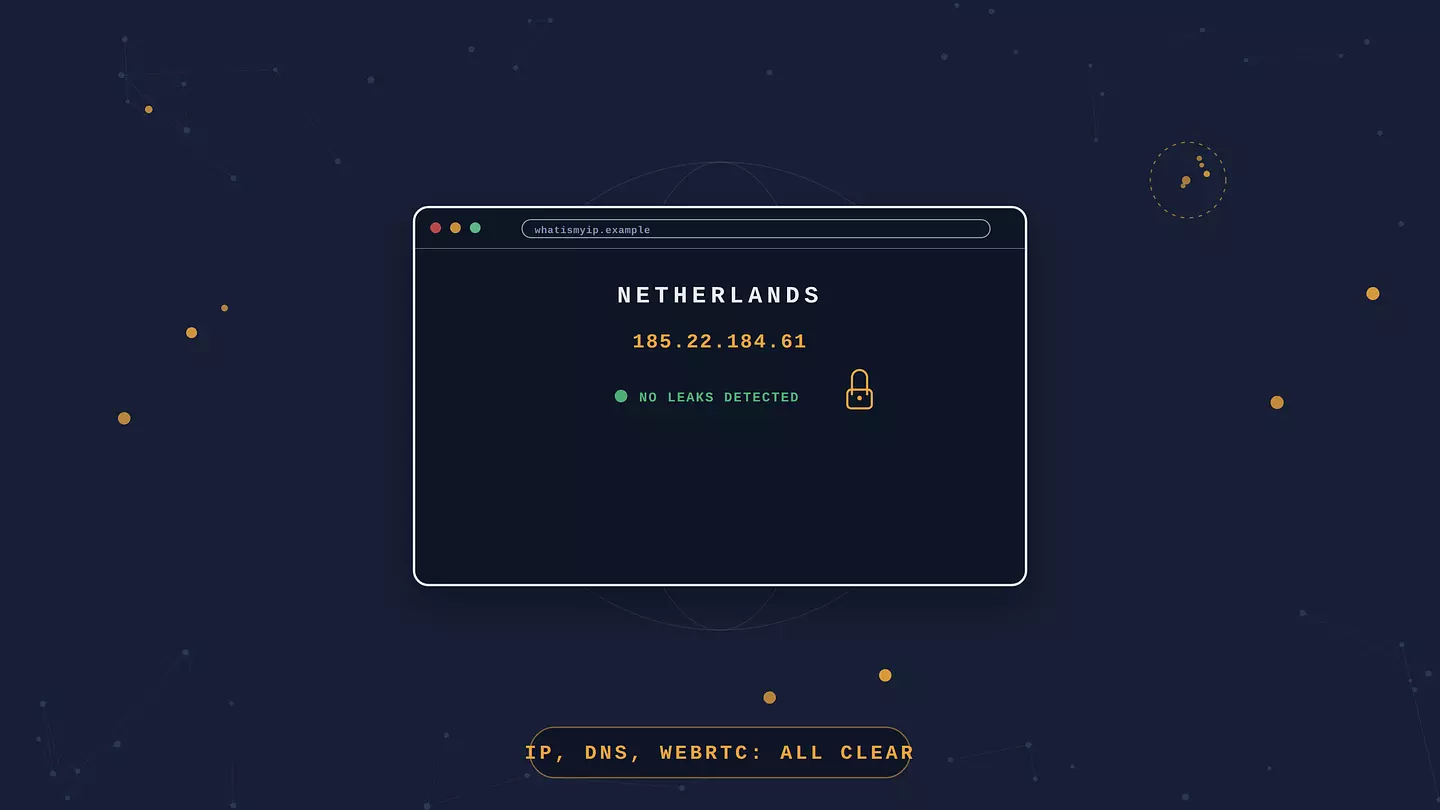
The fast answer: connect your VPN, then visit an IP checker and a DNS leak test. If neither one points back to you or your internet provider, and a WebRTC test stays clean too, your VPN is doing its job.
That covers most people in about two minutes. The rest of this explains what each test is checking, how to read a result that looks off, and what to do when something fails.
The 2-minute check
If you just want the quick version:
With the VPN off, open our IP checker and note the IP address, location, and provider it shows. That is your real one.
Turn the VPN on and connect to a server.
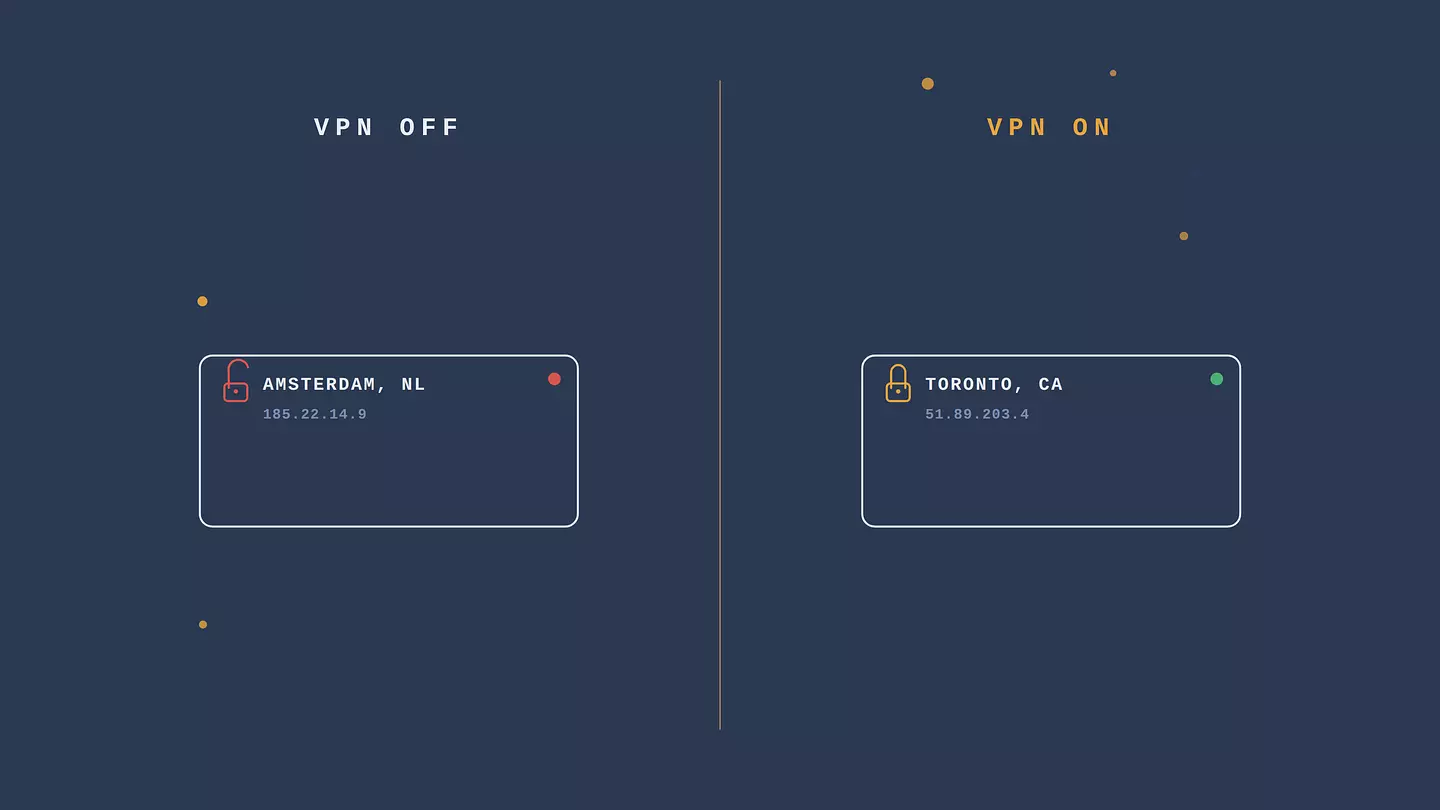
Reload the IP lookup site. It should now show the server's location, not yours.
Run a DNS leak test at browsec.com, and check that the servers listed belong to your VPN, not your internet provider.
Run a WebRTC test at browserleaks.com/webrtc, and check it is not showing your real public IP.
A pass means that none of the three (IP, DNS, WebRTC) reveal your real address or your provider, unless you set something up that way on purpose. If that is what you see, you can stop here. If something looks wrong, the sections below go through it test by test.
The checks at a glance
Check | What it tells you | Where to run it | A pass looks like |
|---|---|---|---|
IP address leak | Sites see the server, not you | browsec.com/en/what-is-my-ip | An IP and country that are not your real ones |
DNS leak | Your provider is not resolving your domains | browsec.com/en/features/dns-leak | Only your VPN's resolver listed, not your ISP's |
WebRTC leak | Your browser is not exposing your IP | browserleaks.com/webrtc | Local addresses only, no real public IP |
Kill switch, if your app has one | Traffic stops if the VPN drops | Force a disconnect while watching your IP | Internet cuts out until the VPN reconnects |
Speed | The VPN is usable, not just on | A speed test, off then on | A drop you can live with, not a collapse |
Test 1: IP address leak
Your IP address is the most visible thing a VPN is supposed to change, so this is the first check.
How to run it
With the VPN disconnected, open the IP checker and write down the IP and the city it reports. Connect the VPN, reload, and compare. The IP should be different, and its rough location should line up with the server you picked. Do it once more with a second server in another country to confirm it is switching servers. If your provider supports IPv6, check an IPv6-aware lookup too, since a VPN that only handles IPv4 can leak your real address over IPv6.
Reading the result
If the IP still matches your real one, the VPN is not carrying your traffic. It may be disconnected, stuck reconnecting, or failing silently. If the IP changed but the country is off by a bit, that is usually fine: geolocation databases lag behind reality, and a server can be registered to a different city than it sits in. What matters is that it is not your address and not your provider.
Common fixes
Disconnect and reconnect. Switch to a different server. Turn on the kill switch so traffic is blocked rather than leaked if the VPN drops. If IPv6 is the leak, check whether your VPN supports IPv6 and turn on its IPv6 leak protection. Disabling IPv6 on your device works too, but try the VPN's own setting first.
Test 2: DNS leak
This is the leak people miss, because everything looks fine on the surface.
What a DNS leak is
Every time you visit a site, your device asks a DNS server to turn the domain name into an IP address. When the VPN is working, those lookups go through the encrypted tunnel and get resolved by the VPN's own DNS, or by a resolver it points you to. In a DNS leak, your device keeps sending those lookups to your internet provider's DNS server instead. Your traffic is encrypted, but your provider still gets a list of every domain you visit, which is a lot of what a VPN is supposed to prevent.
How to run it
With the VPN connected, go to our DNS leak checker and run the test. Look at the DNS servers it finds. They should belong to your VPN provider, or to a privacy-focused resolver the VPN uses. If you see your internet provider's name, or DNS servers in your real location that you did not set, that is a leak.
Common fixes
Use the VPN's own app rather than configuring a connection by hand, since the apps manage DNS for you. Turn on DNS leak protection in the settings if it is a toggle. On some systems you may need to set a private DNS resolver yourself, or flush the DNS cache after connecting. If it keeps leaking, try another server or contact the provider, because a VPN that leaks DNS by default is not doing the job.
Test 3: WebRTC leak
This one is the browser's fault, not the VPN's, but it still exposes you.
Why browsers leak through WebRTC
WebRTC is the feature behind browser-based voice, video, and file transfer. While setting up a connection, the browser gathers the network addresses it could use, and depending on the browser and its privacy settings, some of those can include your real public IP, visible to the site even with a VPN on. That is why it is worth a separate check.
How to run it
With the VPN on, go to browserleaks.com/webrtc. It shows the IP addresses WebRTC can see. A local address, starting with 192.168 or similar, is nothing to worry about. Your real public IP appearing there is a WebRTC leak.
Common fixes
Turn on WebRTC leak protection if your browser or VPN extension offers it. Firefox also has a setting, media.peerconnection.enabled, that you can switch off, and other browsers have extensions for the same job. Disabling WebRTC outright can break browser-based calls and video, so it is a fair trade only if you do not use those.
Test 4: Kill switch
A kill switch cuts your internet in the seconds when a VPN connection drops, instead of letting traffic fall back to your real connection. Not every app has one, and not everyone needs one: it matters most if you are doing something where even a few seconds of exposure counts. If your app does have one, test it on purpose rather than finding out during a real drop.
Connect the VPN and start something that shows your IP continuously, like an IP lookup page you keep refreshing, or a download you can watch. Now force the VPN to drop: quit the VPN app, or turn your network off and back on. With a working kill switch, your internet should go dead until the VPN reconnects. If the page keeps loading and starts showing your real IP, the kill switch is off or not working. Turn it on in the app's settings, usually under connection or advanced options.
Speed, and the basic "is it even on" checks
A VPN always costs some speed, because the traffic is encrypted and taking a longer route. Run a speed test with the VPN off for a baseline, then again connected. A modest drop is the normal price of encrypting everything you send, which on an untrusted public network is the whole point. A big drop means it is worth trying a closer server or a different protocol such as WireGuard.
This is a usability check, not a security one. A VPN can be slow and still be protecting you perfectly. While you are there, the simple sanity checks: the app says connected, pages still load, and the server location shown is the one you chose. If the app says connected but nothing loads, the connection is half-open, and reconnecting or changing server usually clears it.
Before you trust the app itself
All of the above assumes the VPN software is honest. A VPN that logs your traffic, or one that has been quietly bought and repackaged, can pass every leak test and still be the problem. No quick check proves an app is trustworthy, but a few things stack the odds.
Download the app only from the provider's official site or an official app store. Favor a provider with years behind it and a privacy policy that says plainly what it does and does not store, over a brand that appeared last year. Browsec has been running since 2012 and keeps no identifying logs. This ties back to what a VPN is for in the first place: if you cannot trust the company running the servers, the encryption does not buy you much. We cover what a VPN does separately.
What to do if the tests fail
Work through these roughly in order:
Disconnect and reconnect, then re-run the test that failed.
Switch to a different server, ideally in another city or country.
Change the connection protocol. WireGuard is a good default; OpenVPN is worth trying if WireGuard is blocked or unstable.
Turn on the kill switch and DNS leak protection if they are off.
Turn on your VPN's IPv6 leak protection, or disable IPv6 on your device, if the leak is an IPv6 address.
Update the app, or uninstall and reinstall it.
Contact the provider's support with the specific test and the result you got.
If it keeps failing, especially DNS leaks on the provider's own app with default settings, switch providers. That is not a bug you should have to work around.
Browsec şu platformlarla uyumludur:
FAQ
How do I know if my VPN is actually connected?
The app will say so, but confirm it: check that an IP lookup shows the server's location instead of yours. The status can read connected while the tunnel is half-open and nothing is routing.
What is a DNS leak, and is it serious?
It is when your device sends its domain lookups to your internet provider's DNS server instead of the VPN's, so your provider still sees every domain you visit even though the traffic is encrypted. It is one of the more serious leaks, because hiding your browsing from your provider is a big part of why people use a VPN.
Why does my IP still show the wrong country with a VPN on?
If it is showing a different country than the server you picked, geolocation databases are probably just out of date for that server's IP. As long as it is not your real location and not your provider, the VPN is working. If it is showing your actual country, the VPN is not routing your traffic.
Do I need to test my VPN more than once?
Test it when you first set it up, after any major app or operating system update, and when you switch to a new server or protocol. Otherwise a connected VPN that passed its tests will keep working. A quick IP check now and then is enough for day to day.
Can a free VPN pass these tests?
A good one can. What matters is who is behind it. A free tier from a company with a real paid product is funded by those paid plans, so it has no reason to sell what it sees. A standalone free app with no visible way of making money is the one to test carefully, and to stay skeptical of even when it passes, because the leak tests say nothing about whether it logs you.
Bu makaleye atıf yapın
Browsec. "Is Your VPN Working? Here's How to Check." Browsec Blog, 17 Eylül 2026 Perşembe, https://browsec.com/tr/blog/vpn-check.